

If your remote desktop blurry screen makes text fuzzy, icons pixelated, or the whole session look soft, the cause is usually display scaling, an unsuitable RDP resolution, or a connection setting that reduces visual quality. Work through the checks below in order; most fixes take effect after you disconnect and reconnect.
Why a remote desktop looks blurry
RDP does not simply copy your monitor. The client requests a remote resolution, the remote session renders its desktop, and your computer displays that result in a window or across one or more monitors. A mismatch can make the image look stretched.
There are three common patterns:
| What you see | Most likely cause | First thing to test |
|---|---|---|
| The entire session is soft on a 4K or high-DPI laptop | Client-side DPI scaling or a mixed-DPI monitor setup | Use high-DPI mode or a native full-screen resolution |
| Text is sharp but the image is blocky or colors look limited | Low color depth or connection-quality settings | Select the highest color quality and check the Experience tab |
| It becomes blurry only after resizing the RDP window | The client is scaling the remote bitmap to fit | Use a fixed resolution and turn off smart sizing |
| Only one old application is fuzzy | That application is not DPI-aware | Adjust that application’s high-DPI compatibility setting |
Microsoft explains that older desktop applications can be bitmap-scaled when the display DPI changes, including when you connect from a high-DPI laptop to a lower-DPI remote device. That scaling can make the application appear blurry even when the RDP connection itself is working normally. See Microsoft’s high-DPI desktop application guidance for the underlying behavior.
What you need before you start
You need the Windows computer or laptop you use as the RDP client, the server address and credentials, and permission to change the connection profile. Save important work before reconnecting.
Use the built-in Remote Desktop Connection client by searching for mstsc in Windows. If you use Windows App instead, its display controls are different; the high-DPI option is covered in Step 1. If you are still setting up the connection, follow this Windows VPS RDP connection walkthrough first.
Step 1: Check high-DPI scaling on your client
Why: High-DPI laptops and mixed-resolution monitors are the most common reason an otherwise healthy RDP desktop looks like a stretched screenshot.
- Disconnect from the remote session.
- On the local Windows computer, open Settings > System > Display. Note the selected Display resolution and Scale for the monitor where you use RDP.
- Keep the display at its Recommended resolution. Do not lower the monitor’s native resolution just to enlarge remote text.
- If you use Windows App, connect to the remote computer, open the session toolbar’s Display settings, turn High DPI on, and select Update. Microsoft says native high-DPI resolution can improve graphics fidelity and text clarity, though it may use more CPU or network capacity.
- If you use
mstsc, open Show Options > Display and test a full-screen session at a resolution that matches the monitor you are using. Avoid dragging a window between a 200% laptop display and a 100% external monitor while diagnosing the issue. - Disconnect and reconnect after changing the display choice.
Success: text and window edges stay crisp in full screen.
If only one program is blurry inside an otherwise sharp remote desktop, fix that program instead of changing the whole session. On the remote computer, right-click the program shortcut or executable, choose Properties > Compatibility > Change high DPI settings, and test the available override. Microsoft cautions that disabling scaling can make controls too small or cause clipping, so use this only for the affected application.
Step 2: Set a matching RDP resolution
Why: A remote desktop rendered at one size and then enlarged to fill a different-size window has to be interpolated. That interpolation is what makes text and icons look pixelated.
- Search for Remote Desktop Connection, open it, and select Show Options.
- Open the Display tab.
- Move the display-size slider to a resolution that fits the screen you will actually use. For a 1920×1080 monitor, start with 1920×1080. For a 4K monitor, test its native resolution if your network and remote system can handle it.
- Use full screen while testing. A small window that is stretched to a much larger size is a poor test of image quality.
- If you regularly resize the window, save a separate profile for that size instead of repeatedly stretching one fixed-size session.
Microsoft documents desktopwidth and desktopheight for the remote session’s pixel dimensions. Its smart sizing property scales remote content to fit the local window, which can make a sharp session look soft.
Success: the desktop fills the intended screen without a second layer of enlargement.
Step 3: Correct color depth and connection-quality settings
Why: A blurry-looking RDP session can be a quality problem rather than a DPI problem. Reduced color depth and aggressive visual compression can make edges look rough, colors look flat, and moving content look blocky.
- In Remote Desktop Connection, open Show Options > Display.
- In Colors, choose Highest Quality (32 bit) if that option is available.
- Open the Experience tab.
- Start with Detect connection quality automatically. If your network is stable and you are using a local or fast broadband connection, select the closest higher-speed option instead of a modem or low-bandwidth profile.
- Keep Font smoothing enabled when text clarity matters.
- If the session is lagging as well as looking rough, temporarily disable expensive visual effects such as the desktop background or animations. These changes can improve responsiveness; they do not create extra detail, so turn them back on if they are not needed.
- Reconnect and compare the same window at the same size.
Microsoft’s RDP documentation maps the saved session bpp value to the color depth selected in the client. Newer clients generally use 32-bit color, but an old saved profile or a server policy can still limit the result. A lower color depth may help a genuinely slow connection, but it is not the right fix for a text-rendering problem.
Success: text is readable, colors are not visibly banded, and the session is responsive.
Step 4: Save a clean .rdp file
Why: A saved profile prevents an old low-resolution or scaled configuration from being reused.
In Show Options, use the General tab and select Save As. Give the file a clear name such as rdp-sharp-1080p.rdp, then use that file for future connections.
For a fixed 1920×1080 profile, the important lines can look like this:
screen mode id:i:2
desktopwidth:i:1920
desktopheight:i:1080
dynamic resolution:i:0
smart sizing:i:0
session bpp:i:32
Change the width and height to match the screen you use. screen mode id:i:2 requests full screen. dynamic resolution:i:0 keeps the saved dimensions, while smart sizing:i:0 prevents scaling to fit a resized window.
If you move between monitors with different resolutions, create a second profile for the other monitor. You can instead test dynamic resolution:i:1, which lets the session update when the local window changes size, but reconnect if the result becomes soft. Microsoft lists the current RDP display properties, supported values, and the deprecation of desktopscalefactor in its supported RDP properties reference.
You can build the profile without editing the file by using VPSLake’s RDP file generator.
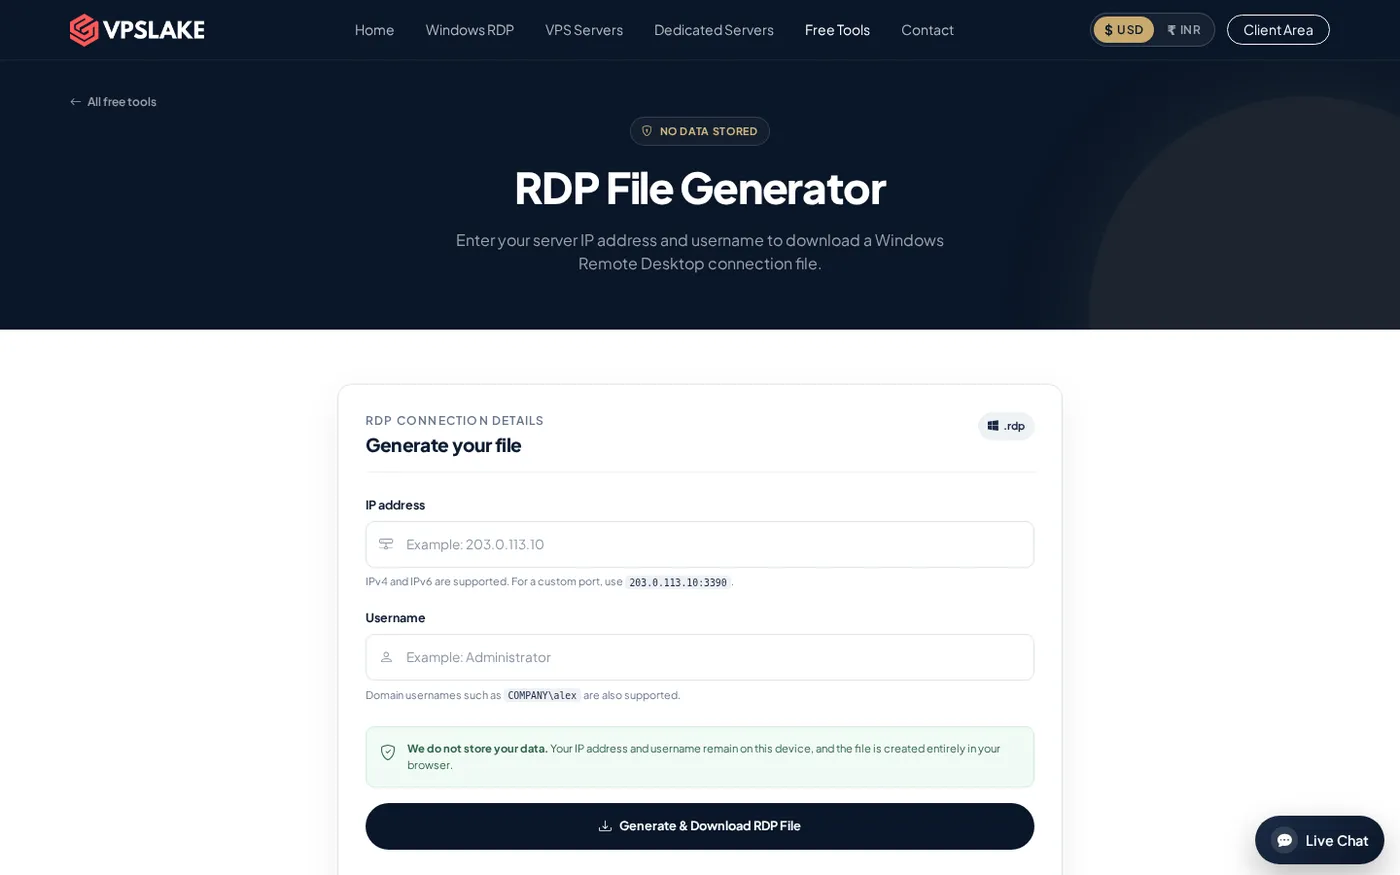
Success: opening the saved .rdp file starts the same resolution, full-screen behavior, and color quality each time.
Verify the fix
Use the same test after each change:
- Open a text-heavy window such as File Explorer or Notepad in the remote session.
- Check small text, window borders, icons, and a page with a white background.
- Move the window between monitors only after the first test is sharp.
- Resize the window. If it becomes blurry only after resizing, use the fixed
.rdpprofile from Step 4. - Open a browser or other application that was previously fuzzy. If the desktop is sharp but that one program is not, apply the per-application DPI setting from Step 1.
If the display is sharp but the session feels slow, see these RDP performance settings for Windows Server.
Troubleshooting when RDP is still blurry
It is blurry only in a window, not in full screen. Your local client is probably scaling the remote bitmap. Use a fixed resolution, set smart sizing:i:0, or keep the window at the dimensions saved in the profile.
The remote desktop is sharp, but one app is not. The app may be an older DPI-unaware program. Apply its high-DPI compatibility setting and restart it.
It becomes blurry after moving the window to another monitor. Disconnect and reconnect on the target monitor. Mixed-DPI displays can trigger bitmap scaling.
The image is blocky during scrolling or movement. Check the Experience tab and your network. Try automatic detection, reduce background and animation effects, and test again. If static text stays fuzzy, return to the resolution and DPI steps.
The Colors menu does not show 32-bit quality. The client, saved profile, or server policy may be limiting color depth. Test a new profile, update the client, and check for a color-depth policy.
FAQ
Why is my remote desktop blurry but my local screen is clear?
The local screen may be using a high-DPI scale while the RDP session is rendered at a different resolution and then enlarged. Match the remote resolution to the monitor, test full screen, and turn on high-DPI support in Windows App when available.
How do I fix blurry text in RDP on a 4K monitor?
Use the monitor’s recommended native resolution and test a full-screen RDP session. If you use Windows App, enable High DPI in the session display settings; with mstsc, avoid stretching a small remote window across the 4K screen.
Does lowering RDP resolution make the screen clearer?
It can make text larger and reduce the amount of data sent, but it will not make a scaled bitmap sharper. Choose a resolution that matches the display or the size of the RDP window, then disable smart sizing if the image is being enlarged.
What color depth should I use for RDP?
Use the highest available color quality, normally 32-bit, when the connection is stable and visual clarity matters. On a slow link, reducing visual effects can improve responsiveness, but a lower color depth is not a substitute for correcting DPI or resolution scaling.
Why is only one program blurry inside RDP?
That program is likely using an older display framework that does not respond well to DPI changes. Open its executable’s Properties, use Compatibility > Change high DPI settings, and test the override for that program only.