

If you want to buy Windows VPS service, check the virtual hardware, Windows licence, administrator access, network limits, payment method, and recovery tools before you pay. A low monthly price is useful only when the plan gives you enough reserved resources and a clear way to manage the server.
This 10-point checklist uses a Buffalo Windows RDP plan as a concrete example, so you can compare an offer line by line instead of relying on vague claims such as “fast” or “unlimited.”
What You Need Before You Buy
Have three things ready: the application you plan to run, an estimate of its RAM and CPU use, and a Windows licence that you are allowed to use in a virtual machine. Decide whether you need a desktop experience, Windows Server, or both.
What a Windows VPS Is (and How It Differs from Shared RDP)
A Windows VPS is a virtual machine with its own Windows system, virtual CPU, RAM, storage, network identity, and administrator account. You connect through Remote Desktop Protocol (RDP).
Shared RDP can mean that several customers use the same Windows environment or that the provider controls the session. Before you buy an RDP server, ask whether the resource allocation, operating system, IP address, and administrative permissions are specific to your VM. VPSLake’s Buffalo option provides a private KVM VM, reserved RAM, full Administrator access, a dedicated US IPv4, and a selectable Windows image.
Step 1: Check That the RAM Is Reserved
Why it matters: Windows and desktop applications feel slow when the advertised RAM is heavily oversold or shared.
Look for “reserved RAM” or an equivalent resource commitment. VPSLake’s Buffalo plans use reserved RAM in a private KVM VM. The 4 GB plan has 4 GB RAM, 3 vCPU, and 60 GB SSD storage.
Success looks like: the order page names the RAM and CPU allocation clearly, and the provider explains whether those resources are reserved for your VM.
Step 2: Match CPU and RAM to Your Workload
Why it matters: Buying too little causes constant memory pressure; buying far more than you need wastes money.
Use this quick starting point:
- 4 GB RAM: one browser profile, one MT4/MT5 EA, a rater workflow, or one Google Ads account. The Buffalo 4 GB plan has 3 vCPU.
- 8 GB RAM: several browser profiles or several MT4 terminals. The plan has 4 vCPU.
- 16 GB RAM: many profiles or heavier automation. The plan has 6 vCPU.
- 32 GB RAM: larger multi-user or multi-profile workloads. The plan has 8 vCPU.
Check the application vendor’s requirements and leave room for Windows services. For MT4 or MT5, compare your terminal count with MT4 and MT5 VPS requirements.
Step 3: Confirm the Virtualisation Type and Storage
Why it matters: KVM gives you a real virtual machine boundary and makes the operating system easier to manage than a restricted shared session.
Check for KVM, SSD storage, and the storage layout. The Buffalo Windows RDP plans use private KVM and SSD storage in RAID 1. Storage ranges from 60 GB on the 4 GB plan to 300 GB on the 32 GB plan.
Success looks like: you know the storage capacity, storage type, and whether you can reinstall the selected image without asking support to do it.
Step 4: Verify Administrator Access
Why it matters: A Windows VPS is useful when you can install approved software, create users, manage services, and adjust the system yourself.
Do not assume that “RDP access” means full control. Confirm the Administrator account, password reset, and recovery console. Buffalo provides full Administrator access, plus browser console, reinstall, reboot, and password reset controls in the client area.
Use a strong password and create a separate least-privilege user for routine work. Microsoft’s Remote Desktop guidance explains the host, firewall, account, and NLA checks.
Step 5: Check Which Windows Image You Can Select
Why it matters: Your application may require a desktop edition, Windows Server, or a specific compatibility level.
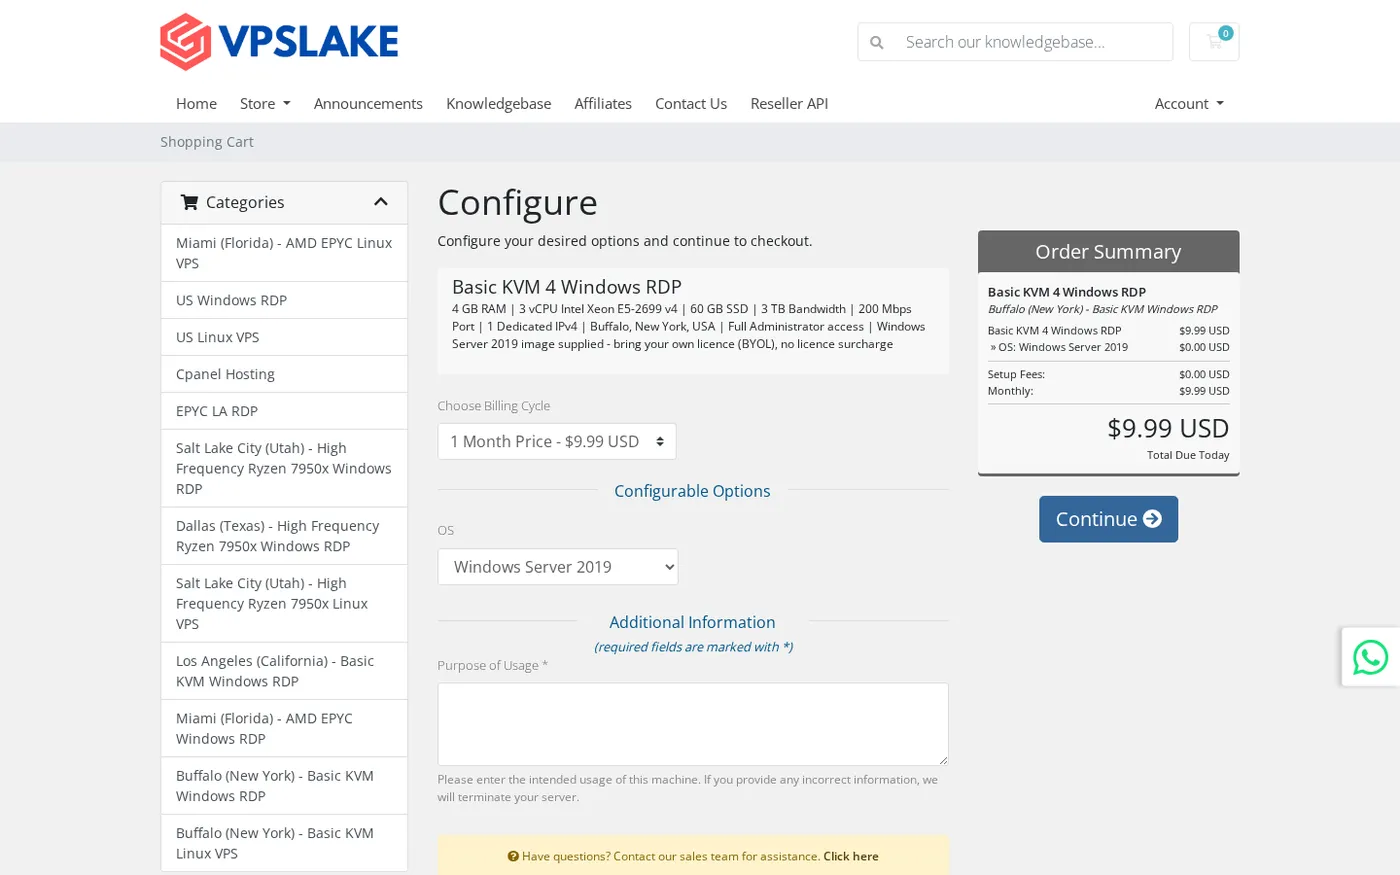
Read the order form rather than relying on a product title. Buffalo’s Windows RDP order form offers Windows Server 2019, Windows 10 Pro, and Windows 11 Pro images. That lets you choose the environment that matches your software and licence.
For a new deployment, check the image lifecycle. Microsoft notes that Windows 10 support ended on October 14, 2025, so Windows 11 Pro or Windows Server may be a better fit when your application allows it.
Step 6: Understand the Windows Licence and BYOL Terms
Why it matters: A Windows VPS price can be misleading if the licence arrangement is not visible.
Ask before checkout:
- Is the Windows licence included or BYOL?
- Is there a separate licence surcharge?
- Does your licence permit use in a virtual machine, and which image will be installed?
VPSLake uses a bring-your-own-licence model for these Buffalo Windows RDP plans: VPSLake supplies the Windows image, you bring the Windows licence, and there is no Windows licence surcharge. The 4 GB plan is $9.99/mo, with the Windows licence not included. Review Microsoft’s Windows Server virtualisation licensing guidance and your agreement before deployment; the provider’s monthly price does not replace your responsibility to use a valid licence.
Step 7: Check the IP Address and Location
Why it matters: Your server’s public IP affects access control, application behaviour, and the latency to services you use.
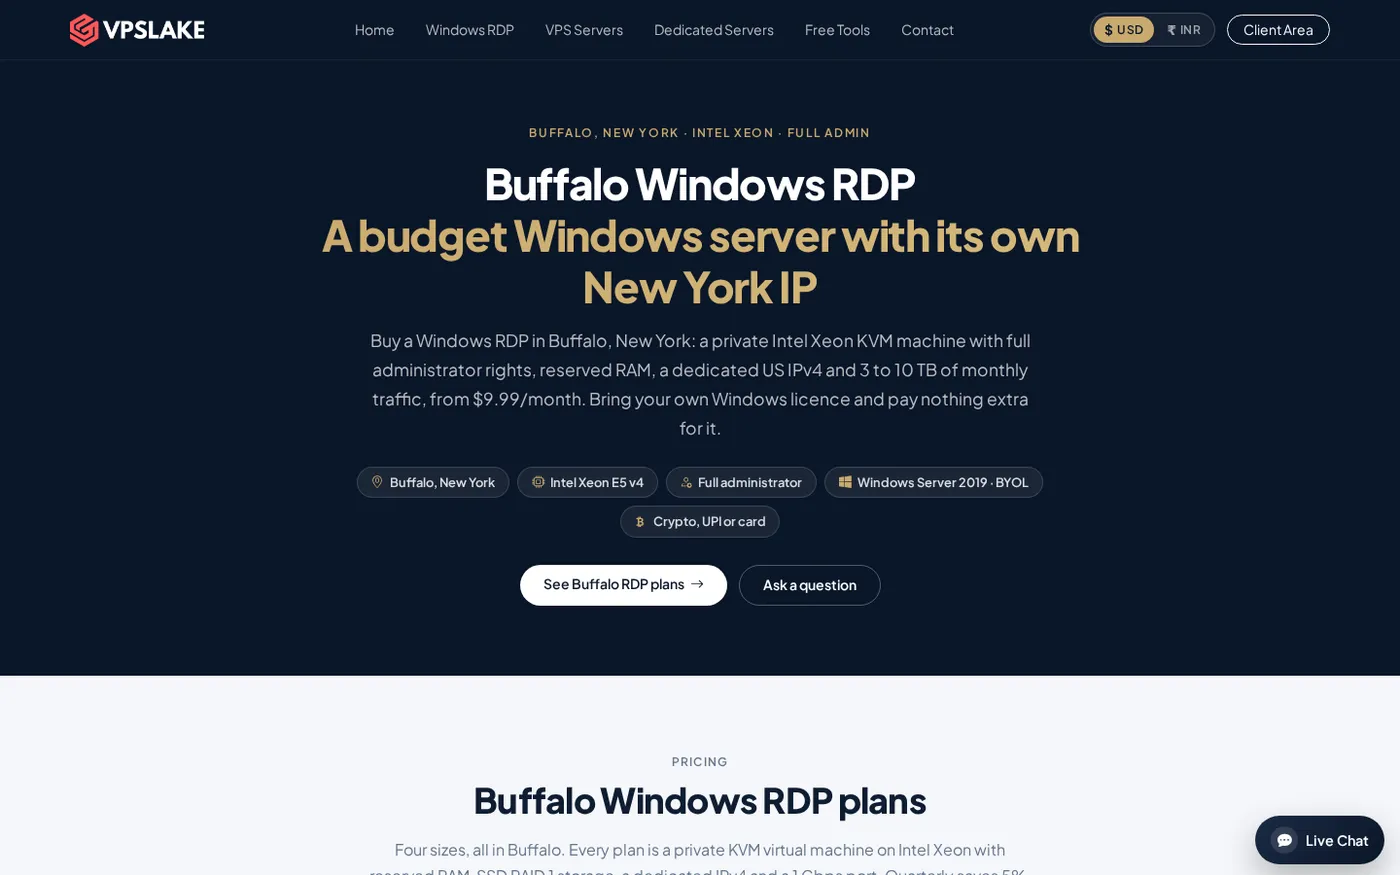
Confirm that the plan includes a dedicated IPv4 address and identify the data-centre location before you pay. The Buffalo Windows RDP plans include one dedicated US IPv4 address and are located in Buffalo, New York, on the US East Coast.
Do not confuse a dedicated datacenter IPv4 with a residential IP. Verify any location or identity requirement separately.
Step 8: Compare Port Speed and Traffic Fairly
Why it matters: “Fast network” is incomplete without the port speed and traffic allowance for the exact plan.
| Plan | Traffic | Port speed | Monthly price |
|---|---|---|---|
| Buffalo 4 GB | 3 TB | 200 Mbps | $9.99/mo |
| Buffalo 8 GB | 5 TB | 300 Mbps | $16.99/mo |
| Buffalo 16 GB | 8 TB | 500 Mbps | $29.99/mo |
| Buffalo 32 GB | 10 TB | 1 Gbps | $54.99/mo |
The port speed is a connection ceiling, not a promise that every download will run at that rate. After the traffic allowance, Buffalo traffic is throttled rather than billed as overage.
Step 9: Check Payment, Billing, and Refund Terms
Why it matters: A plan is not a practical choice if you cannot pay in your preferred currency or understand the renewal terms.
Check the billing cycle and whether the displayed price is monthly or an annual effective rate. Buffalo Windows RDP plans are listed in USD monthly pricing. Quarterly billing saves 5%, and yearly billing gives two months free. INR is available through the currency switch, but the site and invoice may differ slightly.
VPSLake accepts crypto through Cryptomus, UPI and cards through Razorpay or Cashfree, and international cards through Paddle. The first purchase has a five-day money-back policy; read the refund policy before ordering.
Step 10: Confirm the Control Panel and Delivery Process
Why it matters: The first hour after payment is easier when you can recover, reinstall, or reboot without waiting for a manual change.
Before checkout, confirm where credentials and server controls will appear. For Buffalo, setup is automatic after payment, and the client area provides console, reinstall, reboot, and password reset functions. Support is available through tickets, WhatsApp, and Telegram seven days a week.
Success looks like: you know where to find the IP address, administrator credentials, reinstall option, and support channel. After delivery, change the initial password, update Windows, create your normal user account, and test RDP from your usual device. The Windows VPS setup checklist covers those first actions.
How Much Should You Spend on a Windows VPS?
Start with the smallest plan that covers your measured workload. A 4 GB Windows VPS at $9.99/mo suits one browser profile, one MT4/MT5 EA, or light remote work; move to 8 GB for several profiles or terminals. Compare price, licence, storage, traffic, port speed, and admin access together.
Verify Your Order Before You Start Work
After delivery:
- Confirm the Windows edition matches the image you selected.
- Confirm the visible RAM, vCPU, storage, and IP match the ordered plan.
- Sign in with the supplied Administrator account and then create a separate daily-use account.
- Check that Windows Update, the firewall, and Network Level Authentication are configured for your use case.
- Open the client area and locate console, reinstall, reboot, password reset, and support options.
If a detail does not match, save the order number and contact support before installing production software.
Troubleshooting Common Buying Mistakes
The licence is unclear: pause checkout and ask whether the price is BYOL or licence-included. Do not treat an evaluation image as a long-term licence.
RDP connects but applications are slow: check RAM, CPU, disk space, and concurrent processes before upgrading.
Transfers are slow: check the traffic allowance, remote service, local connection, and whether the VM has reached its allowance.
You cannot connect after a change: use the browser console or reboot control, then review the Windows firewall and RDP settings.
FAQ
What should I check before I buy a Windows VPS?
Check reserved RAM, vCPU, storage, KVM, administrator access, Windows image, licence terms, dedicated IP, port speed, traffic, payment, refunds, and recovery controls. These details reveal what you are buying beyond the headline price.
Is a Windows VPS the same as a shared RDP server?
No. A Windows VPS is a private virtual machine with its own operating system and allocated resources. Shared RDP may restrict users, sessions, applications, or administrator actions, so verify the VM and access model before paying.
Can I buy a Windows VPS without a Windows licence?
Some providers use BYOL, which means you bring a valid licence and the provider supplies the image. VPSLake’s Buffalo Windows RDP plans use BYOL with no Windows licence surcharge; confirm that your licence terms cover the VM and intended use.
How much RAM do I need for a Windows RDP server?
Use 4 GB as a starting point for one browser profile, one MT4/MT5 EA, or light remote work. Choose 8 GB for several profiles or terminals, and consider 16 GB or 32 GB for heavier multi-profile workloads after checking actual application requirements.
What is the cheapest useful Windows VPS plan?
The Buffalo Windows RDP 4 GB plan is $9.99/mo and includes 3 vCPU, 4 GB reserved RAM, 60 GB SSD storage, 3 TB traffic, a 200 Mbps port, full Administrator access, and one dedicated US IPv4. It is useful when that resource level matches your workload and you have the required Windows licence.