


If you want to buy windows rdp, the order is simple: choose a Buffalo plan, select the Windows image that fits your work, choose a billing cycle, pay, and use the login details sent after provisioning. This walkthrough follows the actual order path so you know what to select and what should arrive before connecting.
Before you order: pick RAM for your workload
RAM is the first decision because it affects how many browser tabs, terminals, or desktop applications you can keep open. Start with the smallest plan that matches your workload.
| Plan | CPU and RAM | Storage | Traffic and port | Monthly price |
|---|---|---|---|---|
| Buffalo Windows RDP 4 GB | 3 vCPU, 4 GB reserved RAM | 60 GB SSD (RAID 1) | 3 TB, 200 Mbps | $9.99/mo |
| Buffalo Windows RDP 8 GB | 4 vCPU, 8 GB reserved RAM | 100 GB SSD (RAID 1) | 5 TB, 300 Mbps | $16.99/mo |
| Buffalo Windows RDP 16 GB | 6 vCPU, 16 GB reserved RAM | 200 GB SSD (RAID 1) | 8 TB, 500 Mbps | $29.99/mo |
| Buffalo Windows RDP 32 GB | 8 vCPU, 32 GB reserved RAM | 300 GB SSD (RAID 1) | 10 TB, 1 Gbps | $54.99/mo |
The 4 GB plan suits one browser profile, one MT4/MT5 terminal, rater work, or a Google Ads account. Choose 8 GB for several anti-detect browser profiles or multiple trading terminals. The 16 GB and 32 GB plans are for heavier multi-profile or team workloads.
These are private KVM virtual machines with reserved RAM, full Administrator access, and one dedicated US IPv4 address. After the included traffic allowance, the port is throttled rather than billed as overage.
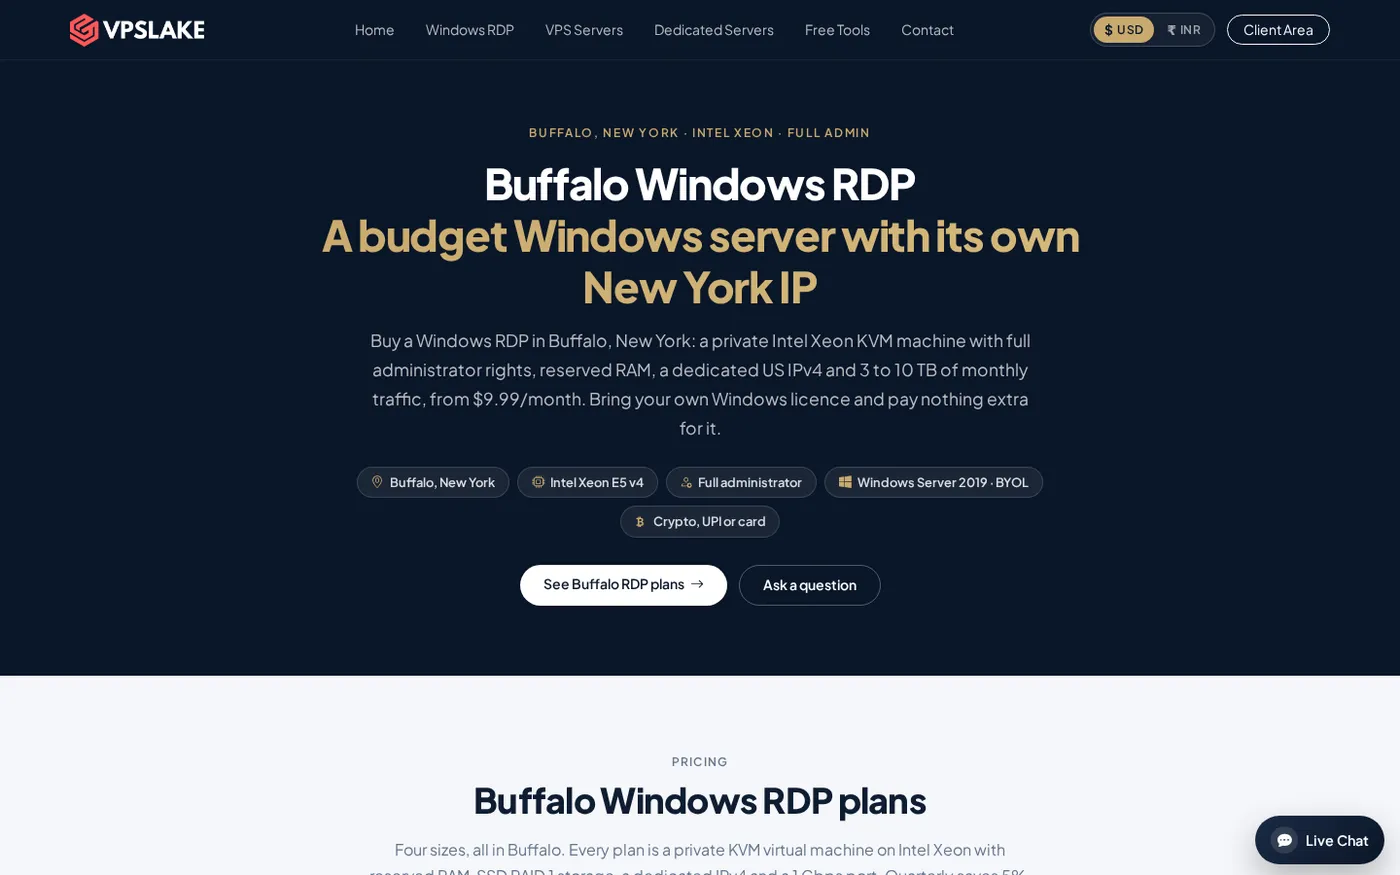
Step 1: choose the Buffalo plan
Why this matters: the plan page carries the hardware, location, and payment route into the order form, so selecting the right size first prevents an avoidable change later.
- Open the Buffalo Windows RDP plans.
- Find the RAM size that matches the table above. Select Buy Now for that plan.
- Check that the cart shows Buffalo, New York and the intended plan name before continuing.
- Create or sign in to your VPSLake account with an email address you can access. The order email and server credentials will use this address.
Success looks like a cart containing one Buffalo Windows RDP service with the expected RAM, monthly price, and location. Do not continue to payment until those details are correct.
The IP is a datacenter address, not a residential IP; use the server in line with the rules of the services you access.
Step 2: pick the Windows image
Why this matters: the image determines the desktop and server environment you receive, while the BYOL rule determines what you must provide separately.
On the order form, choose the image that matches your software:
- Windows Server 2019: a server-oriented environment for administration, automation, and tools that expect Windows Server.
- Windows 10 Pro: a familiar desktop environment for software that is designed for Windows 10.
- Windows 11 Pro: a newer desktop environment for software that requires or works best with Windows 11.
VPSLake supplies the selected image. Windows licensing is bring your own licence (BYOL): the licence is not included, and there is no Windows licence surcharge. Use your licence in accordance with Microsoft’s terms.
For the general RDP connection model and supported clients, see Microsoft’s Remote Desktop Services connection documentation. Choose the OS for compatibility, then install your software after login.
Success looks like the selected image is visible in the order summary and the BYOL requirement is clear before you pay. If you need a normal desktop first, Windows 10 Pro or Windows 11 Pro is usually the more natural choice; if your instructions call for Windows Server, select Server 2019.
Step 3: choose monthly, quarterly, or yearly billing
Why this matters: the billing cycle changes the amount charged today and the date of future renewals.
- Open the billing-cycle selector on the order form.
- Select monthly if you are testing a workload or want the shortest commitment.
- Select quarterly for a 5% saving against the monthly cycle.
- Select yearly if you want two months free compared with paying the monthly price for twelve months.
- Review the total, renewal term, and currency before adding a payment method.
Monthly is the default choice for a first order. A longer cycle does not change the plan’s RAM, storage, Windows image, or traffic allowance.
Success looks like the order summary shows the intended cycle and the correct total before payment. Save the invoice or order number so you can match it to the payment confirmation.
Step 4: pay by UPI, card, or crypto
Why this matters: choosing the gateway that matches your currency and payment method helps the order confirm without a second checkout attempt.
Pay by UPI or an Indian card
- Switch the VPSLake site to INR if you want to review the rupee amount before checkout.
- At payment, choose Razorpay or Cashfree when available for the order.
- For UPI, select UPI and approve the request in your banking app, or scan the QR code. PhonePe, Google Pay, Paytm, BHIM, and most bank UPI apps can be used through the gateway.
- For an Indian debit or credit card, follow the gateway prompts and complete the bank’s verification step.
The VPSLake UPI payment page shows the currency switch and UPI route. Check the final gateway amount before approving.
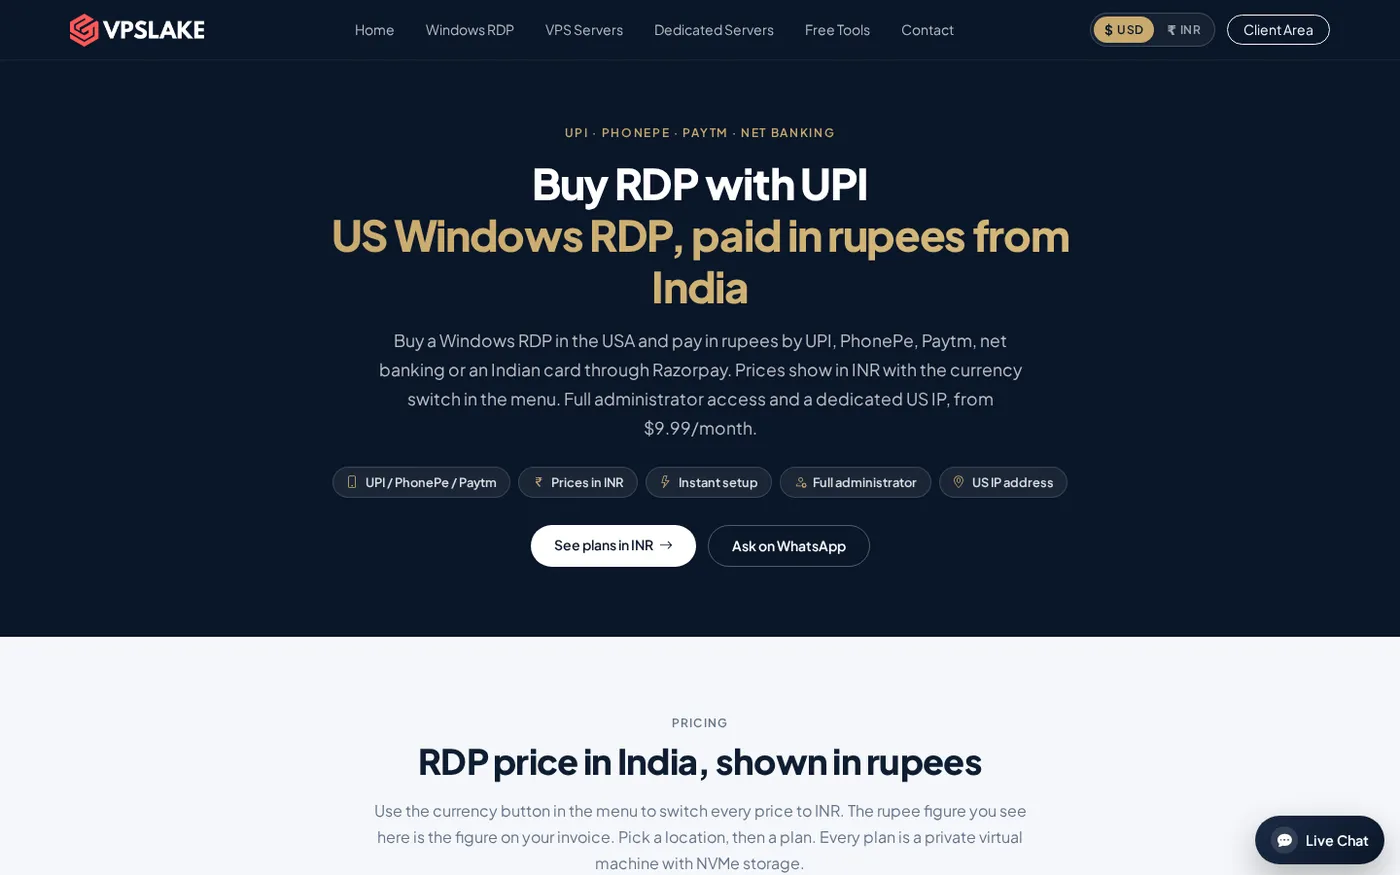
Pay by international card
Choose the international card option through Paddle when it is presented at checkout. Check the charge and currency with your bank before confirming.
Pay with crypto
Choose Cryptomus at checkout and select the supported coin shown on the invoice. VPSLake lists USDT, Bitcoin, and other supported coins; send the exact amount and wait for network confirmation.
Use the address and amount generated for the current order, not an old invoice, and keep the payment reference until delivery.
Success looks like the gateway marks the invoice paid and the order changes from pending to the provisioning stage. Keep the payment confirmation until you have logged in successfully.
What you get after payment and how fast
The welcome email and your VPSLake client area should provide the server’s public IP address, username, and Administrator password; the client area also provides controls such as reboot, reinstall, password reset, and browser console access. Once payment confirms, setup starts automatically.
Provisioning normally completes within a few minutes. If you paid successfully but do not see credentials, check the order status and spam or promotions folder before placing another order.
Before trying to connect, find:
- The server’s public IPv4 address.
- The username, normally the Administrator account for a full-admin Windows RDP.
- The temporary password from the welcome email or client area.
- The Windows image you selected.
First login: connect and change the password
Why this matters: the first successful connection confirms that the order delivered correctly, and changing the temporary password gives you a credential you control.
On Windows:
- Search for Remote Desktop Connection and open it. You can also run
mstsc.exe. - Enter the public IPv4 address from the welcome email in the PC field.
- Select Connect, then enter the supplied username and password when prompted.
- Accept the certificate prompt only after confirming that the address is the server you ordered.
- After the desktop loads, open the Windows security screen with
Ctrl+Alt+End, select the password-change option, and set a strong new password.
On macOS, Android, iPhone, or iPad, install a Microsoft-supported Remote Desktop client, add a PC using the same IP address, and sign in with the supplied credentials.
After login, confirm the basics:
- Open Settings > System > About and confirm the Windows edition you selected.
- Open Task Manager > Performance and check that the expected memory is available.
- Reconnect once with the new password so you know the change worked.
- Open the client area and confirm that console, reboot, and reinstall controls are available for the service.
For next steps, use How to Set Up a Windows VPS After Purchase. For clipboard transfer, see fixing copy and paste in RDP.
Troubleshooting the order
Payment is pending
Check the gateway receipt and the invoice status in the client area. Do not submit a second order immediately; if the payment has been captured, the original invoice may still be moving through confirmation.
Payment succeeded but no welcome email arrived
Sign in to the client area to view the service and delivery details. Keep the order number and payment confirmation handy so support can quickly assist with any order question.
The wrong plan or image is in the cart
Stop before payment and remove the incorrect item. Return to the Buffalo plan page, choose the right RAM size, and confirm the image and billing cycle in the new order summary.
The RDP client rejects the login
Check that you entered the public IP, username, and password exactly as delivered. If you already changed the password, use the new one; the client-area password-reset or browser-console controls can help you regain access without opening a duplicate order.
FAQ
Can I buy Windows RDP with UPI?
Yes. Switch the site to INR, choose a Buffalo plan, and select Razorpay or Cashfree at checkout when available. Choose UPI in the gateway and approve the request in your UPI app.
Which Windows image should I choose for an RDP?
Choose Windows Server 2019 when your software or instructions require a server environment. Choose Windows 10 Pro or Windows 11 Pro when you want a familiar Windows desktop and your applications support that edition.
Do I need my own Windows licence?
Yes. Buffalo Windows RDP is BYOL: VPSLake supplies the Windows image, but the Windows licence is not included. There is no licence surcharge, and you are responsible for using your licence according to Microsoft’s terms.
How long does Windows RDP setup take after payment?
Provisioning starts automatically after payment confirmation and normally finishes within a few minutes. Your IP, username, and password appear in the welcome email and client area when the build is ready.
How much RAM do I need for a Windows RDP?
The 4 GB plan is a sensible starting point for one browser profile, one MT4/MT5 terminal, or light desktop work. Choose 8 GB or more for several browser profiles, multiple terminals, or heavier automation.